How to set up a Wi-Fi Network in Windows 10
Having a functional Wi-Fi network is no longer an option, but a necessity, because a high speed network will help you save a lot of time. The good news is that it’s not difficult to set up your own network, and Windows 10 has greatly simplified the process.
First of all, you will need a broadband Internet connection. Then, you will need a modem, a wireless router and wireless adapters. The good news is that modems are usually offered by the Internet service providers, and most devices have built-in wireless adapters. If you have a modem, you need to connect it to the Internet cable. Then, connect the LAN plug to the wireless router. Of course, there are also routers that have built-in cable modems; if this is your case, you will only have to plug the Internet cable into the router socket – that’s all!
It is important to choose the best position for your wireless routers. Choose areas where the signal is strong and the interference is minimal. Consultants strongly recommend that you should place the router close to the center of the house; this way, the Wi-Fi signal should be strong enough to cover all the rooms. Things change when you don’t have Internet-ready devices in some of your rooms, of course; if this is your case, feel free to move the router close to the areas where the devices need the highest upload/download speed – the living room, if you use a device like Chromecast to stream video from your phone to the big screen, for example.
Don’t place the router near the floor, near metallic parts or near walls. Also, place it away from microwave ovens, cordless phones and other similar devices that operate using a frequency of about 2.4 GHz.
Now that all the hardware is in place, you need to configure the network. The router comes with a default user/pass combination, which are usually admin/admin. Change them both if possible, or at least change the password, making it a combination of letters, numbers and special symbols. Set a strong security password/key for the Wi-Fi network, and don’t forget to write it down. Don’t ever use the WEP protocol to secure your network, it’s useless. Go for WPA or (even better) WPA2, which have enough strength to keep your computers safe. Also, many routers have a built-in firewall, so make sure to activate it.
Now that your network has been set up, you can finally start adding computers to it. Navigate to Windows 10’s setting, choose “Connect to a network”, choose your network name from the list (there may be several networks in your area), and then click “Connect”. You will be asked to input your security key, so make sure to have it handy.
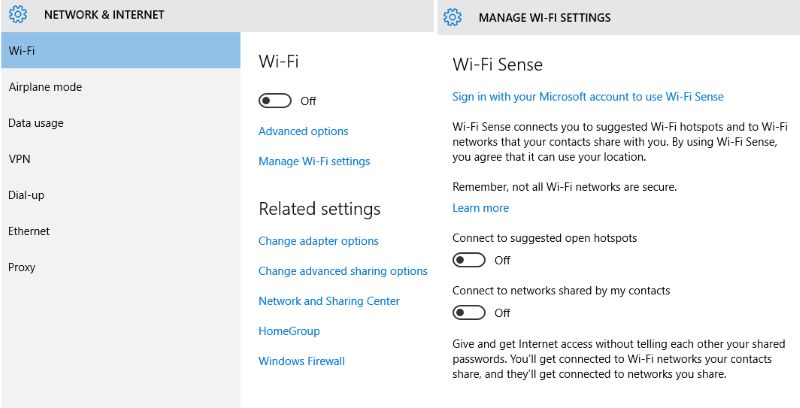
To start sharing your files, printer, etc choose “Advanced Sharing”. You can turn on or off the public folders, for example. When you want to share a document, simply open the Document Library, and then double click the public documents folder. You can then share one or more of your documents with the computers in the network.
Your network should now be set up, your computers should be connected to the network, and you should have access to all files and documents that are shared on them.